As a follow-up to the post ” The Perfect Painting Method,” I thought I would share with you that method put to work in a copy of Caravaggio’s St. Jerome.
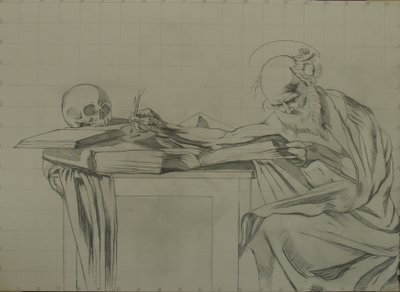
The first step is the drawing (above) which in this case was done by making a grid copy of a print of the original. The drawing should be a simple two-value silhouette, focusing on the light and shadow pattern of the image. This simple image is the starting point to organize the complex visual information of reality.
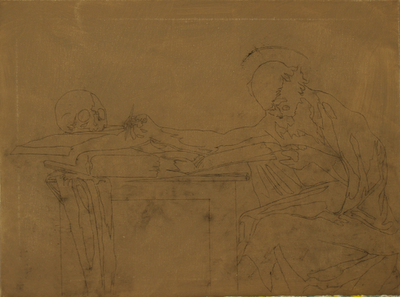
Next, transfer this drawing onto a canvas that has been toned to a mid value (here, Old Holland burnt umber mixed with a little lead white was used). Once this campitura has dried (the longer the better), you can transfer the drawing. This is done by tracing the image onto tracing paper, rubbing charcoal on the back of the tracing, placing it on top of the canvas and going over the lines of the drawing so the image transfers to the canvas. Often, there are traces of charcoal dust that end up staying on the canvas. This is easily removed by blowing or brushing it away.
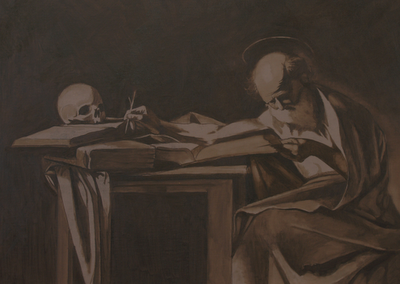
Finally, reinforce the lines and flll in the darks using raw umber thinned with turps.
In the next post I will describe the stages of painting.


Thanks for sharing this!
very interesting!
Hello,
Thank you for writing this wonderful blog. I had a question about the steps you took here. Why did you draw on paper and transfer it to canvas? Why not just grid and draw directly onto the canvas?
-S.J.D.
You can grid and draw directly on canvas. I usually use paper so I can get the drawing perfect before transferring. Please note that you should not use graphite pencil for drawing on your canvas. It will bleed through with time.