Steps in the Production of a Painting Video

I just started playing around with some new video software and have put together some videos on the painting process, mostly aimed at helping my students.
Here is one on the steps in the production of a painting:
https://www.youtube.com/watch?v=qbCqobeTlI0
Here is “Big Form Modelling a Bouguereau”.

The Method of Caravaggio – Part 3 – The Overpainting

and yellow ocher, lead-tin yellow, vermilion (cinnbar),
malachite, carbon black and earth colors, plus madder
lake and copper resinate glazes.
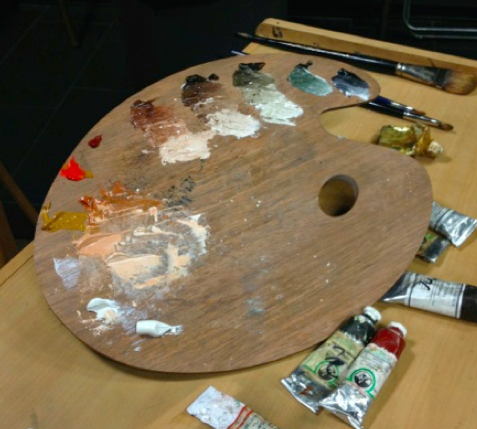

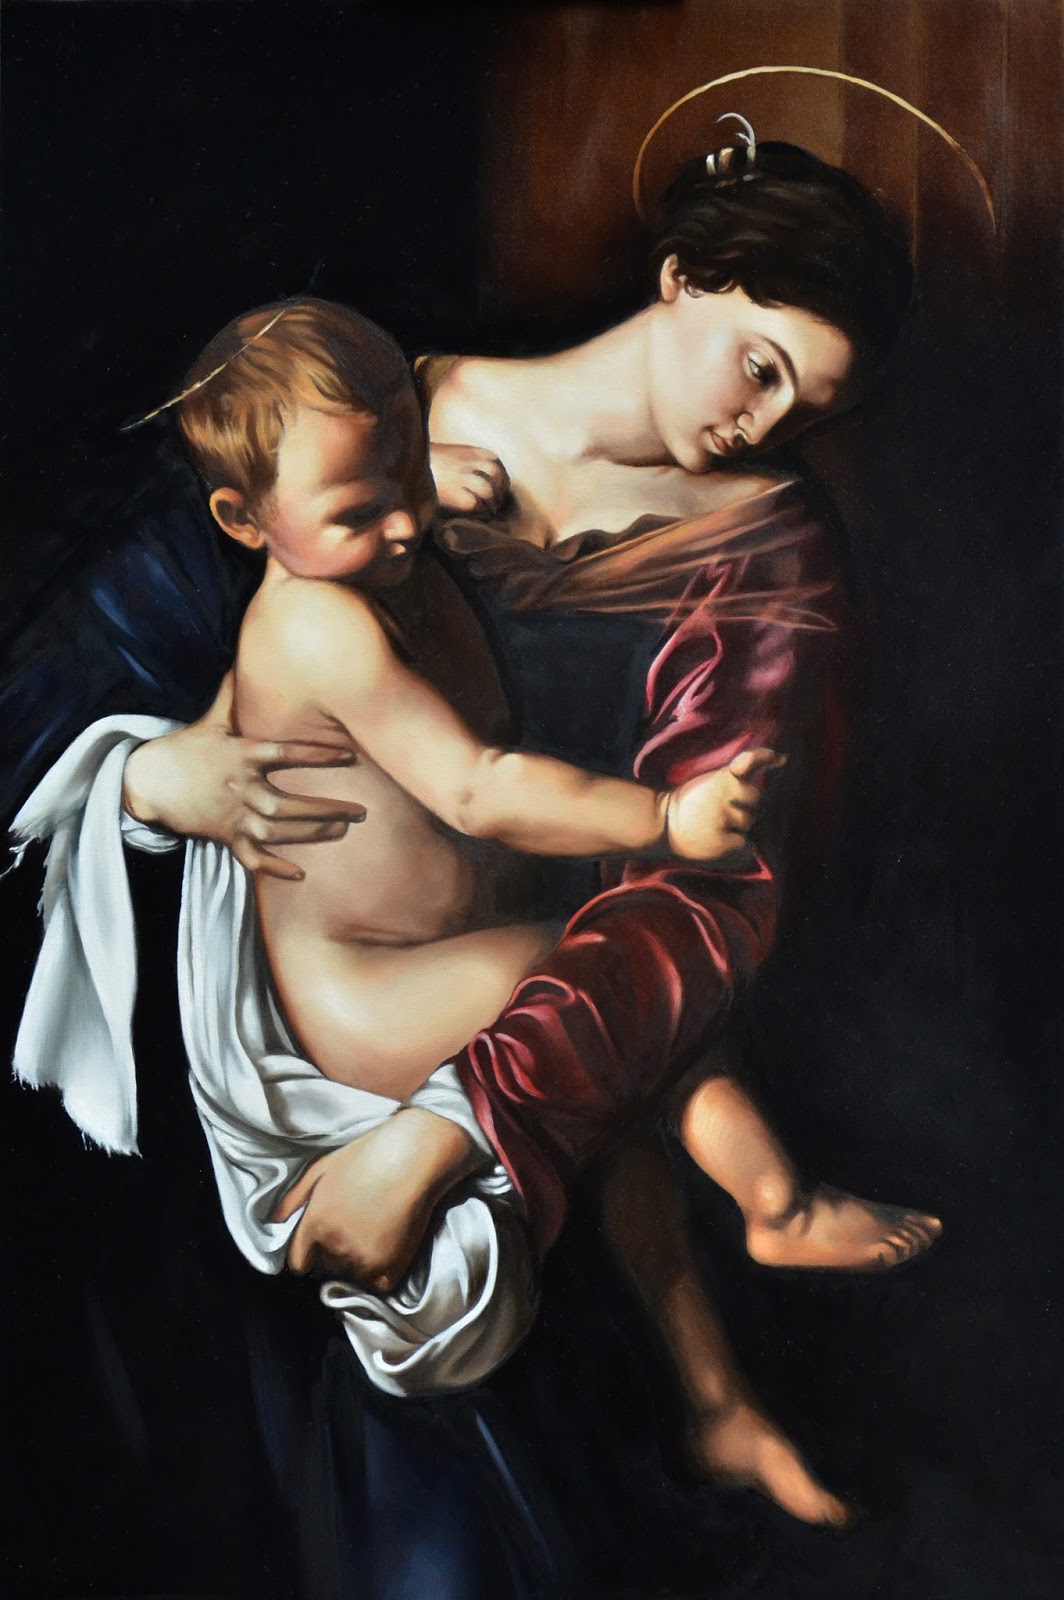
Below is a video of the workshop demo on the application of the overpainting:

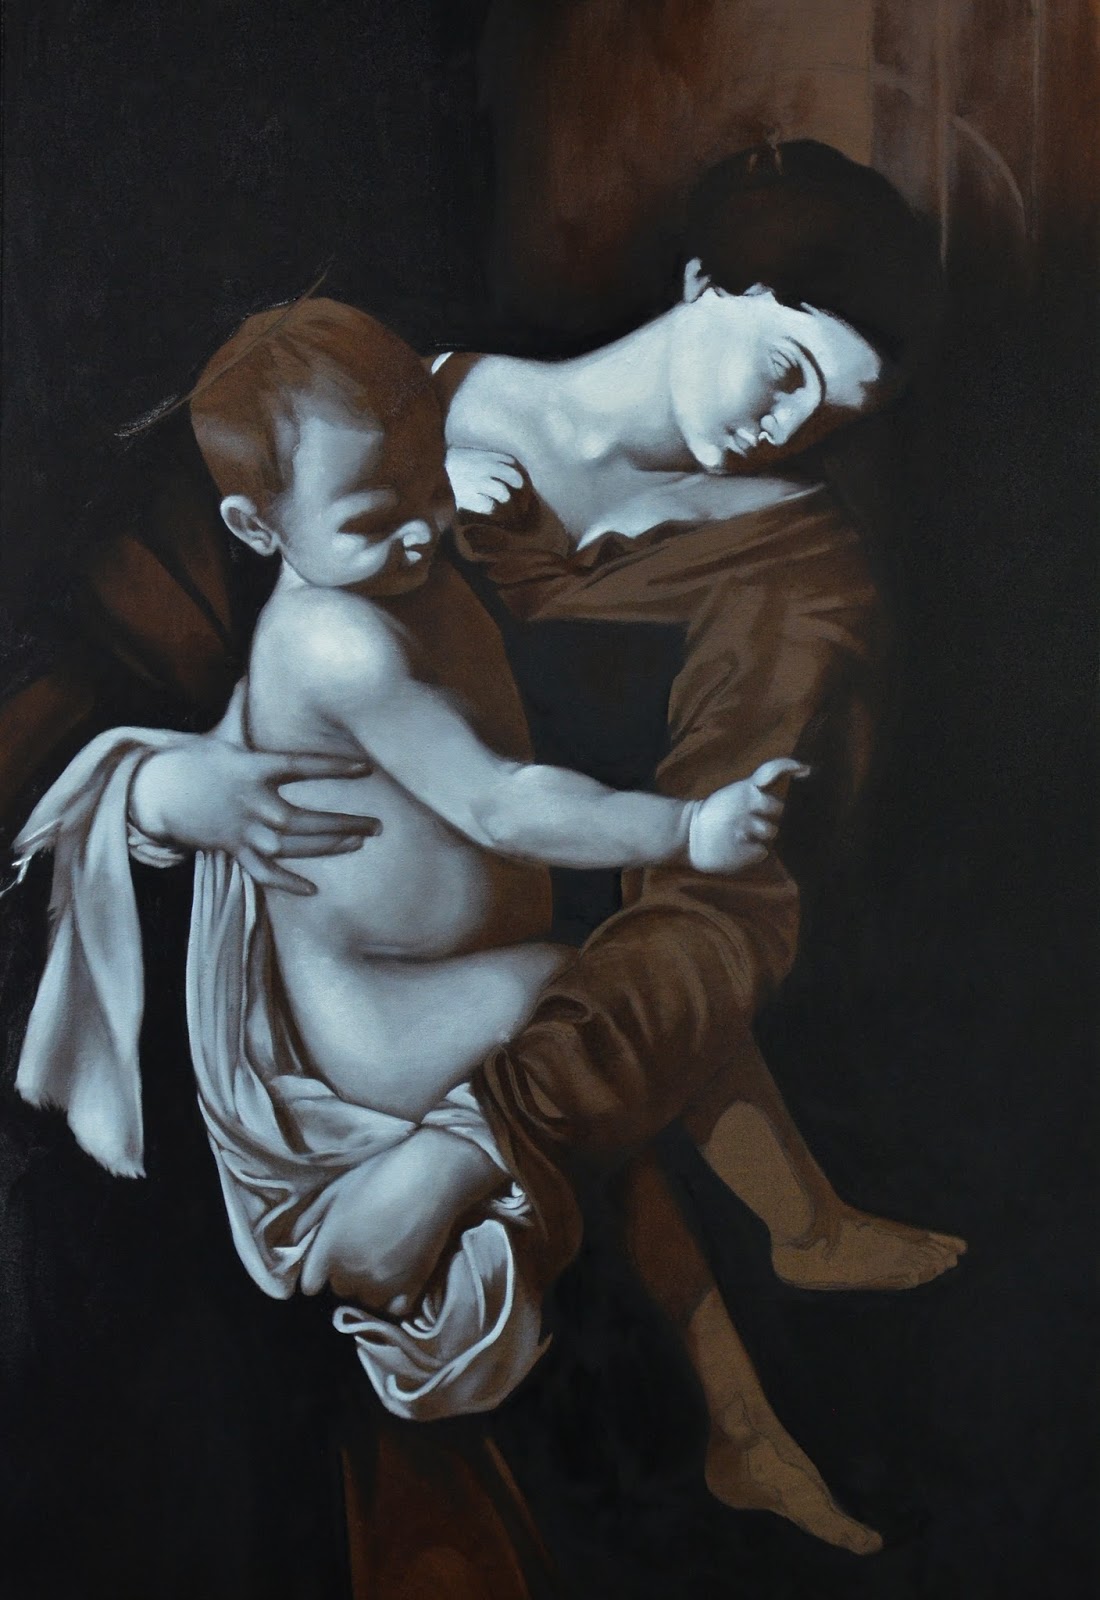
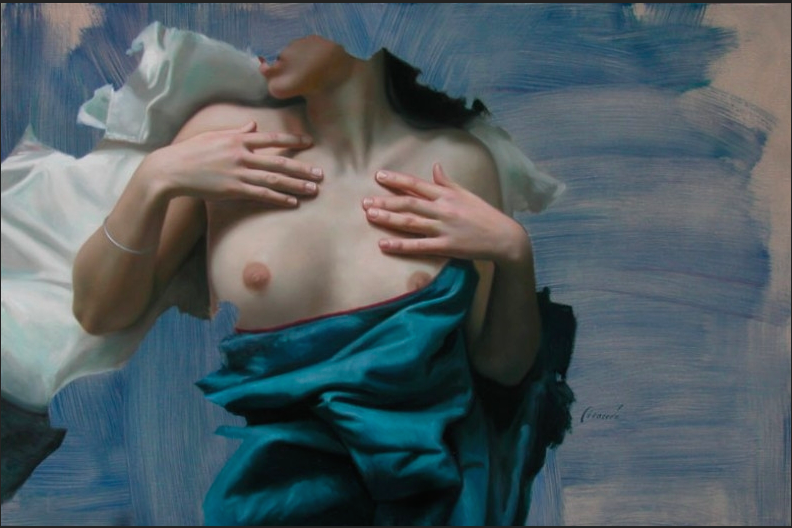
The Method of Caravaggio – Step Two – Underpainting the Lights


Continuing on from the last blog entry, once the wash drawing has dried, the lights are rendered using a white. Caravaggio would have used a lead white but titanium works as well. If using titanium, add in a little bit of calcium carbonate to give the paint some body, opacity and to help it dry a little faster. Where the flesh is lightest, the paint is applied thickly. As the flesh darkens the paint is pulled thinner, resulting in the illusion of the three dimensional form.
The Method of Caravaggio – Step One


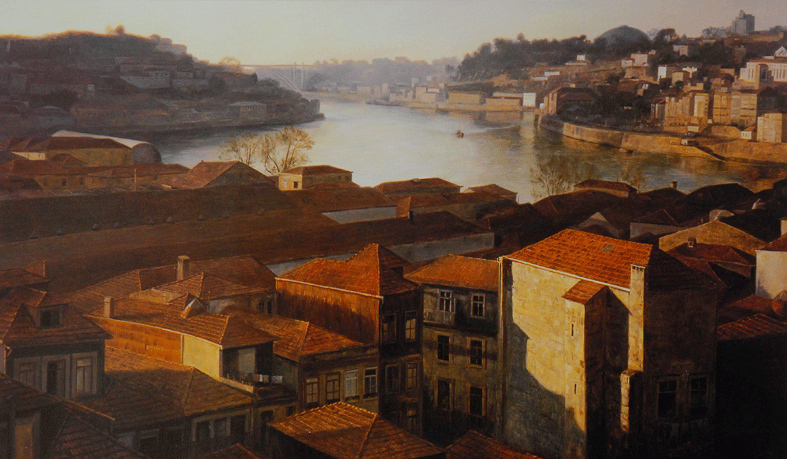
Off the Coast Podcast – A Conversation with Antonio Macedo

Having spent some time in Portugal has allowed me to make friends with a number of artists living and working there. One of these, the painter Antonio Macedo, invited me into his studio recently where we talked about his experience as an artist. Working professionally for 40 years, the conversation will be of interest to young artists just starting out as Antonio shares his ideas of what painting should be.
Antonio’s website: http://antoniomacedo.pt/en/
Antonio is also active on Facebook: https://www.facebook.com/antonio.macedo.54?fref=ts
Music for the podcast is by Kid Cholera courtesy of Opsound.org
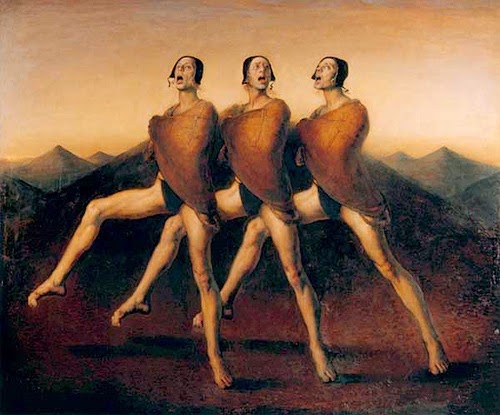
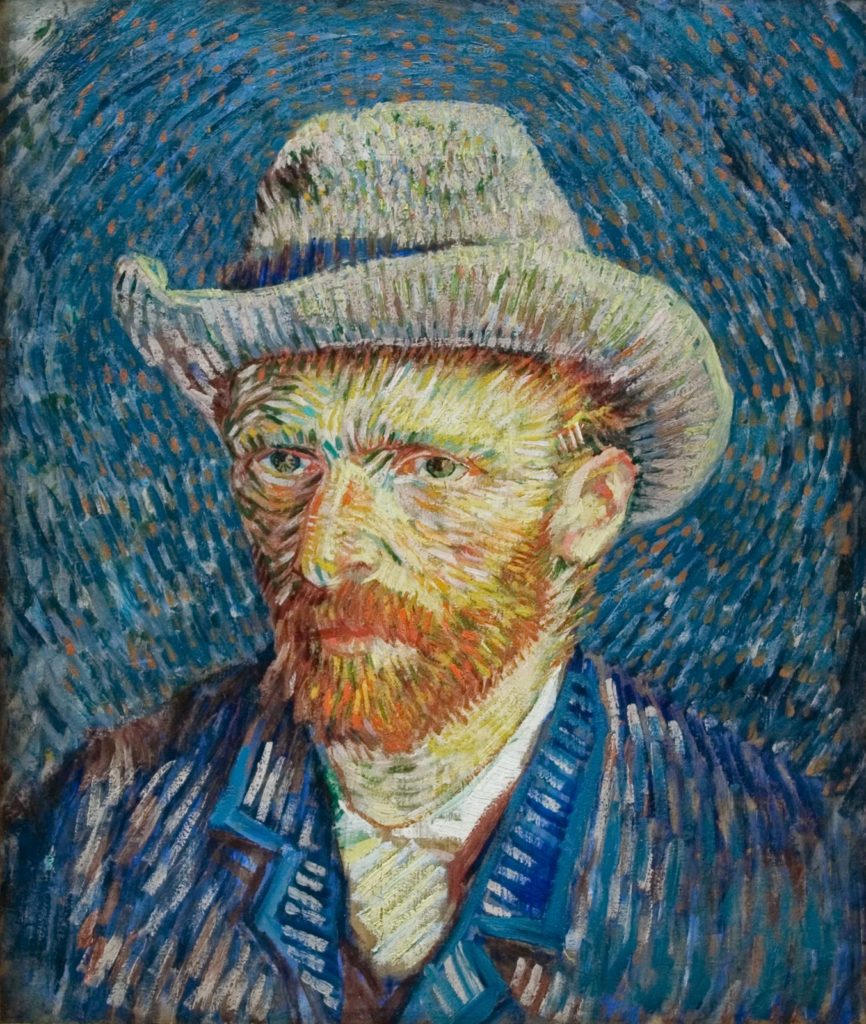
Artistic Anatomy – Odd Nerdrum
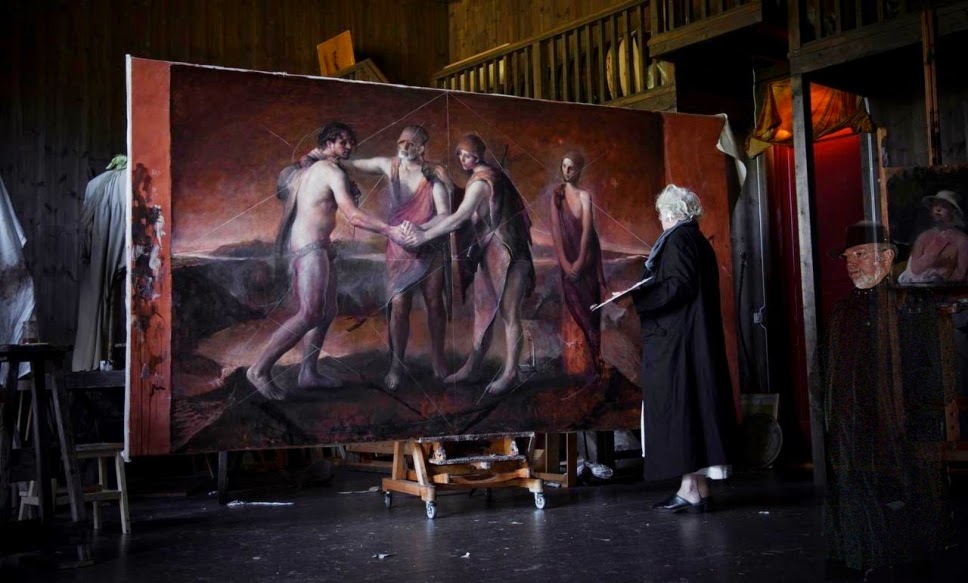
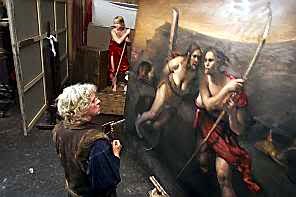
Odd Nerdrum is one of the most interesting and important artists alive today. Nerdrum’s pictures reflect the spiritual malaise which overwhelms post-modern man. His paintings are timeless, yet radically traditional.
The figures of Nerdrum’s (seemingly) post-apocolyptic landscapes reflect a clear belief in the manipulation of anatomy to express a mood or an idea. The master himself talks about this:
“The highest level you could think about is when you make a picture where you can’t say when it was made. You have to make small heads, big hands, long stomachs, so the whole figure is moving upwards”. (https://www.youtube.com/watch?v=oUrP2cvtFJ4#t=21m34s)
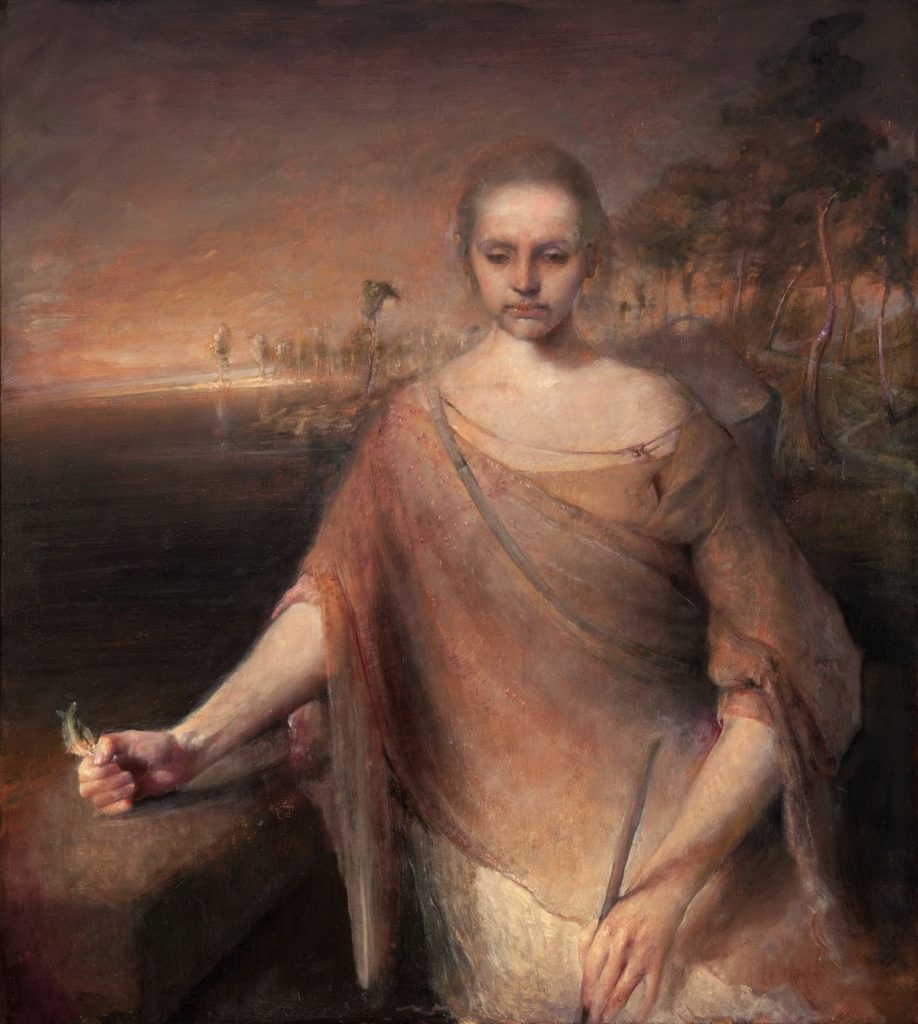
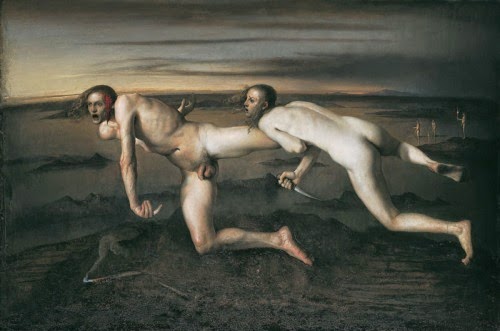
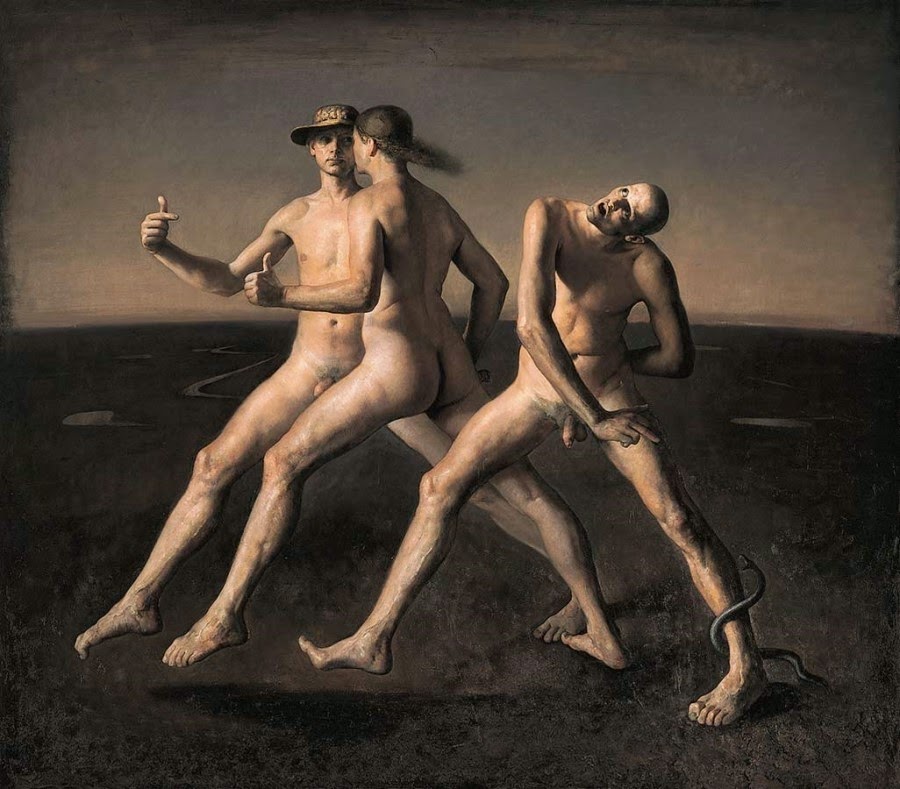
In other of Nerdrum’s paintings he distorts the figures in a less graceful way.
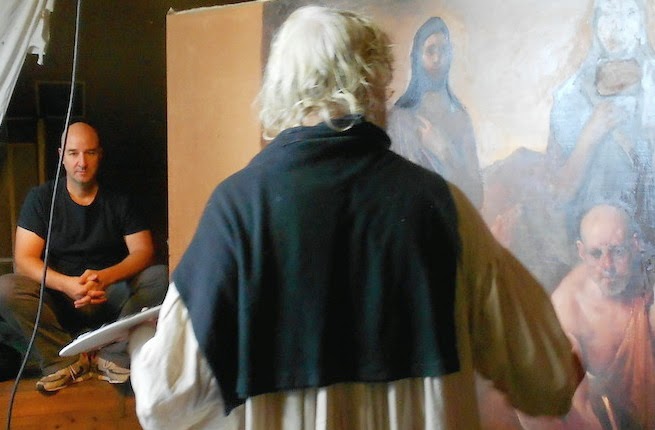
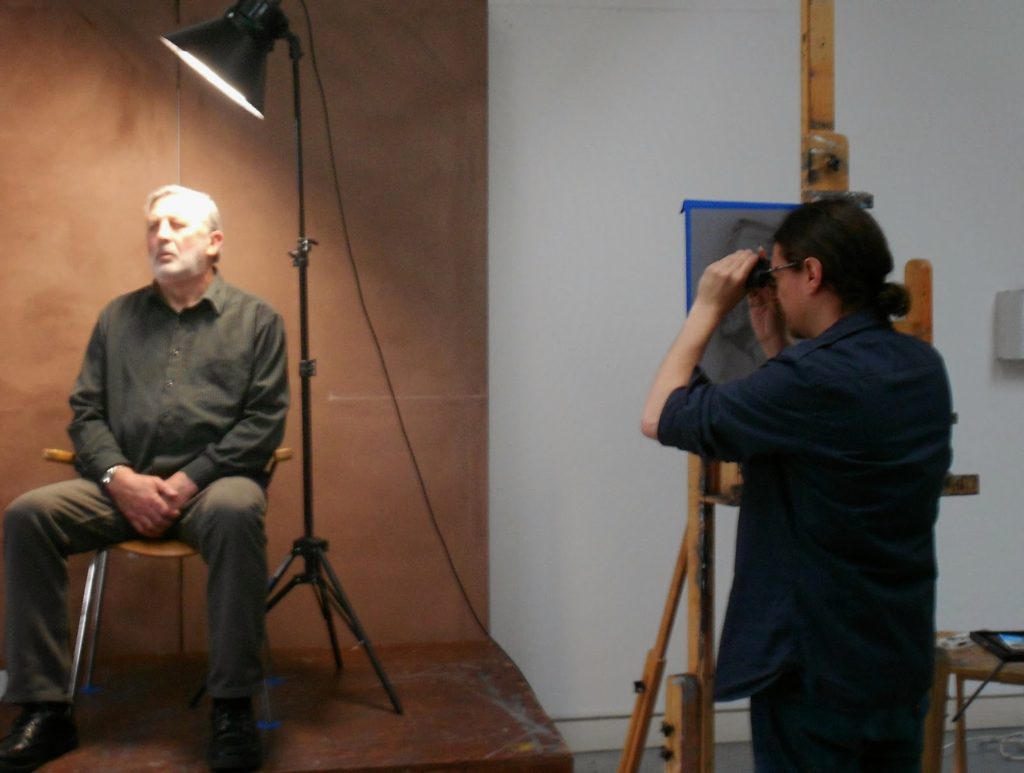
Dublin with David
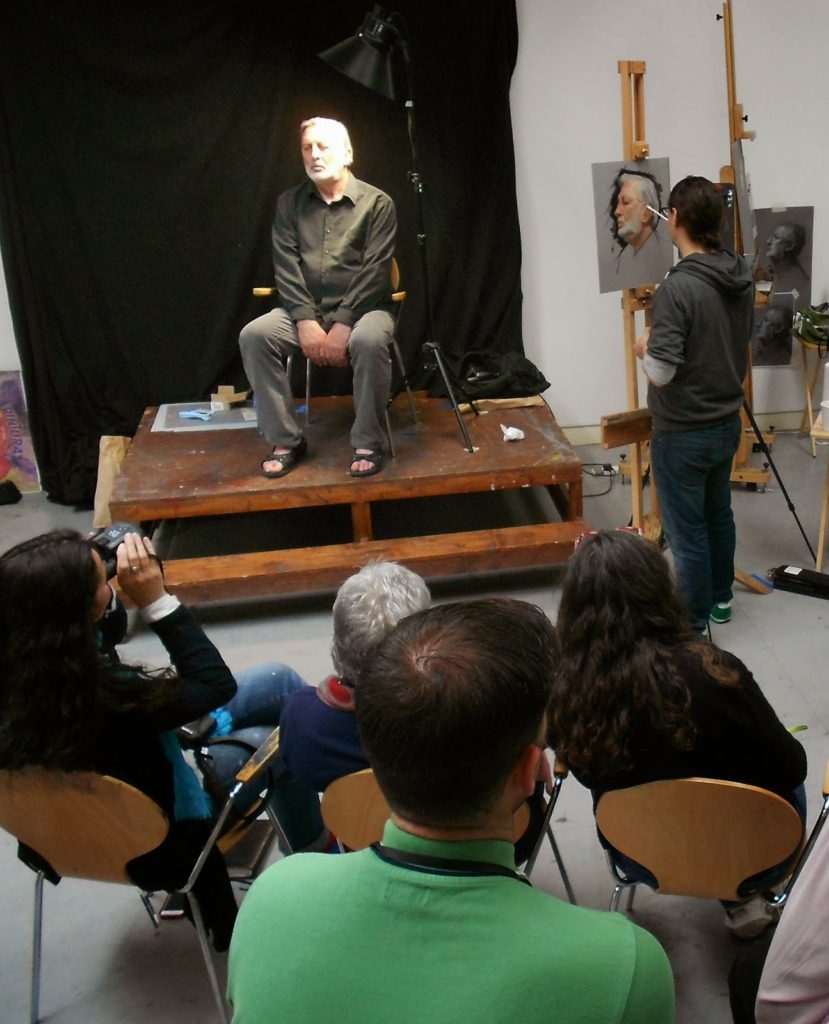
The workshop focused on the students learning Kassan’s method of approaching a portrait painting. The class was split between David’s demo and the students working.
From the first morn David set the tone, wanting the workshop to be a positive group experience. He would move through the classroom, attending to each student individually and guiding them in whatever way he saw necessary for success. David himself was very personable, alternating between cracking bad jokes and espousing his philosophy on painting.
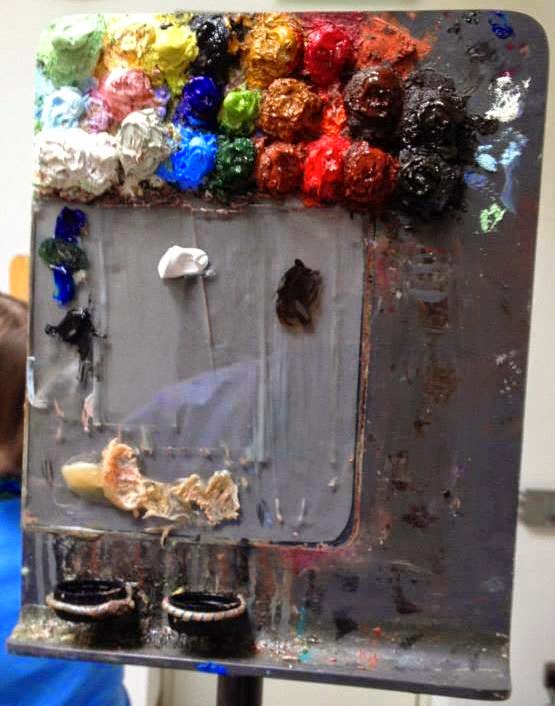
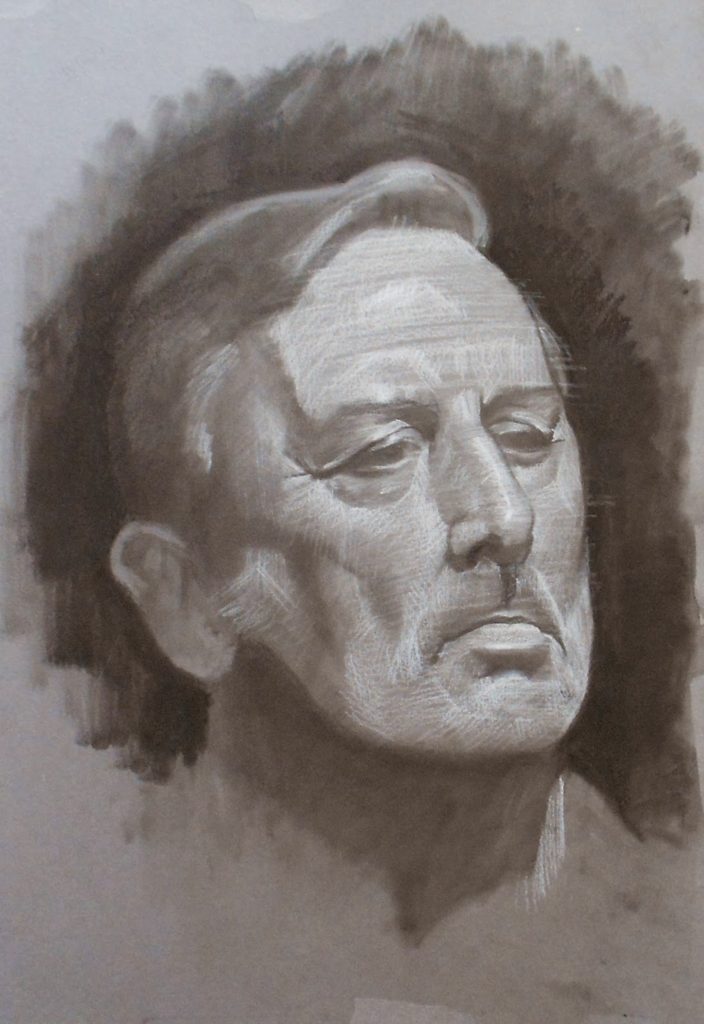
David begins with a drawing on gunmetal gray Daler-Rowney Canford card paper, using Pan Pastel black blocked in with a number 4 trowel shaped drawing tool. From the block-in he refines the drawing with General’s Charcoal pencils and white chalk pencils.
(check out this video)
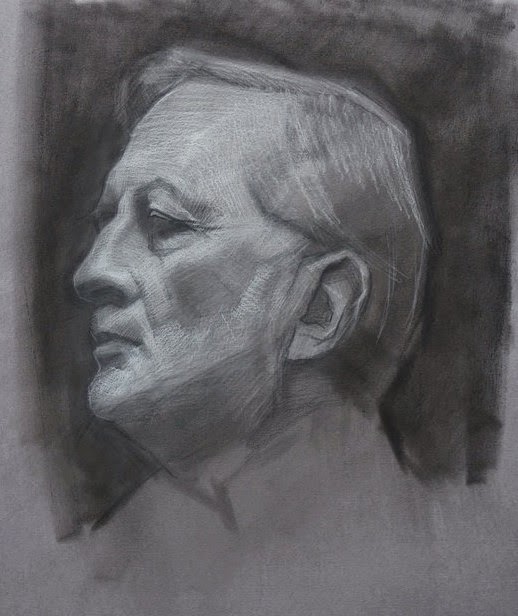
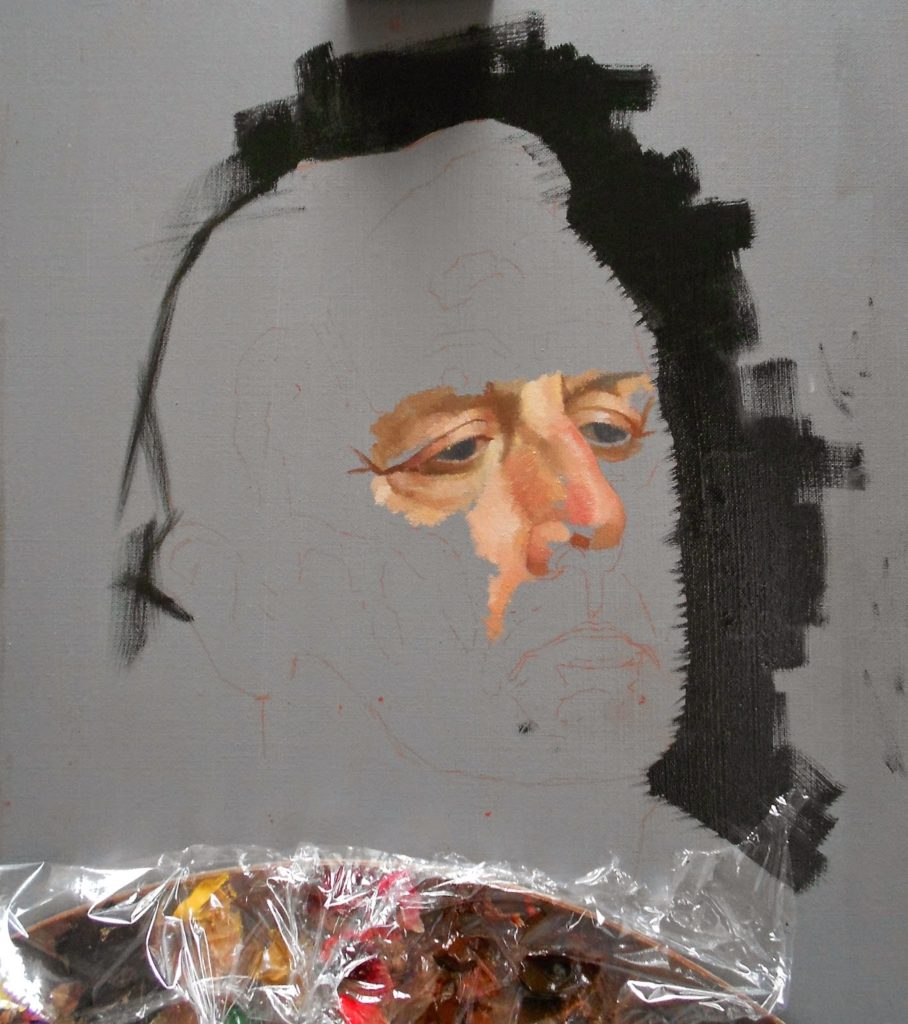
Once completed, the drawing is photocopied and Pan Pastel red iron oxide is rubbed on the back of the copy. This is placed upon die-bond plastic board that has been prepared with Golden N6 acrylic grey and traced out. Below you can see the beginning stages of the painting along with the drawing on the board.
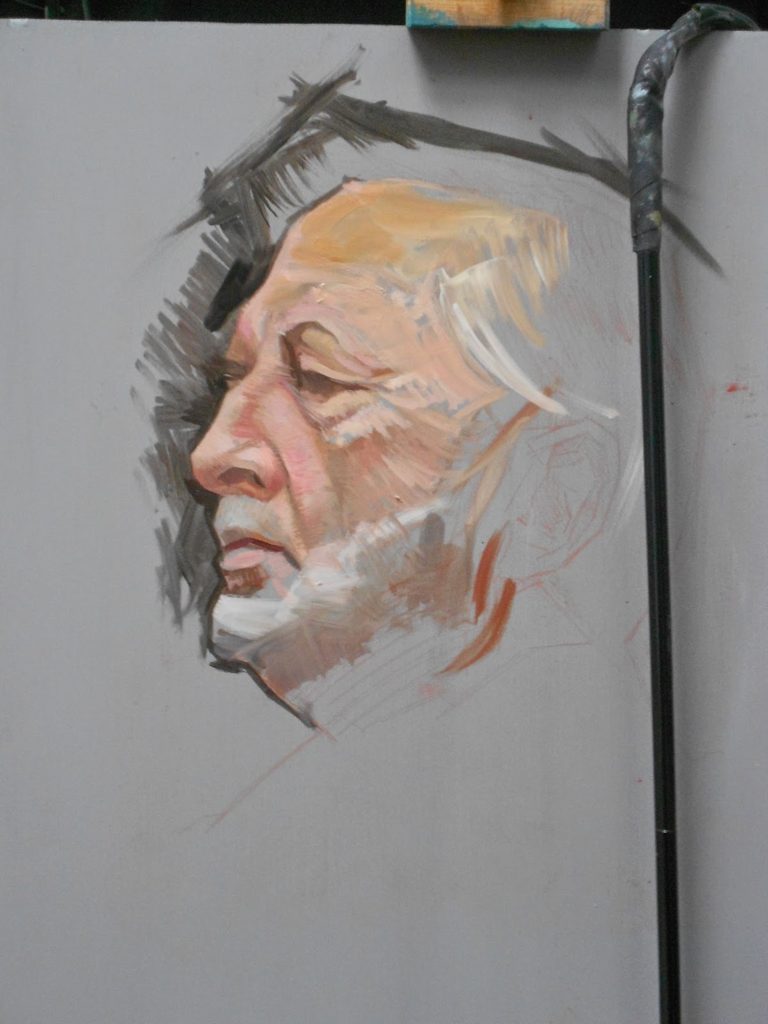


The final painting was auctioned of with proceeds going to the David Kassan Foundation
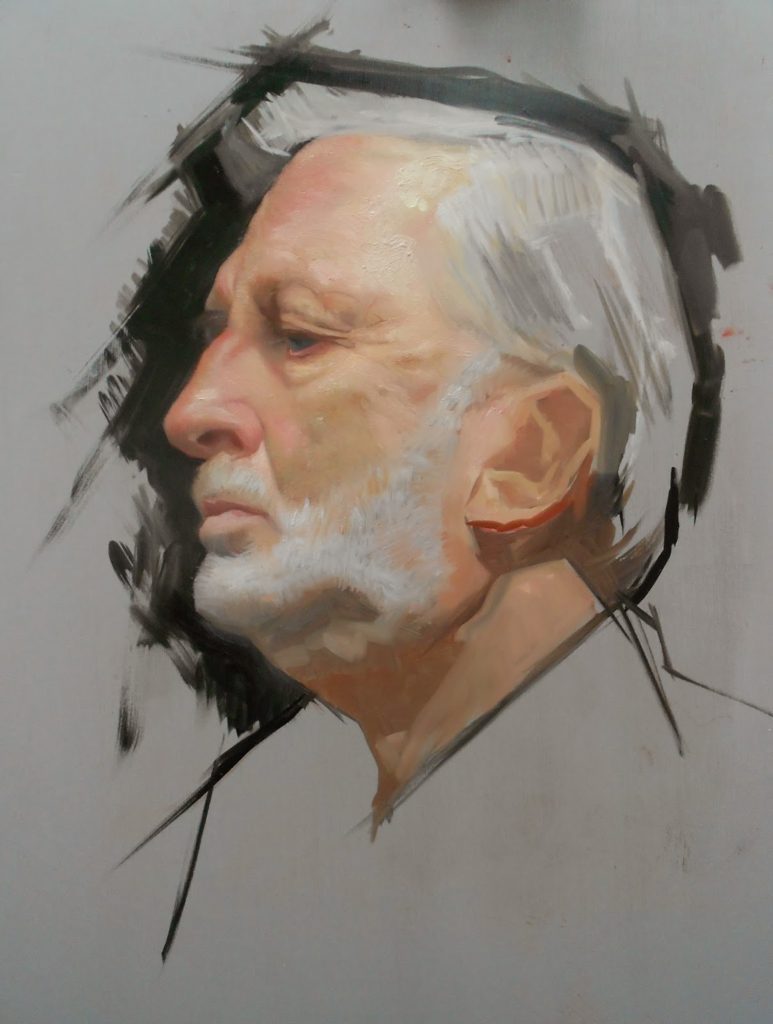
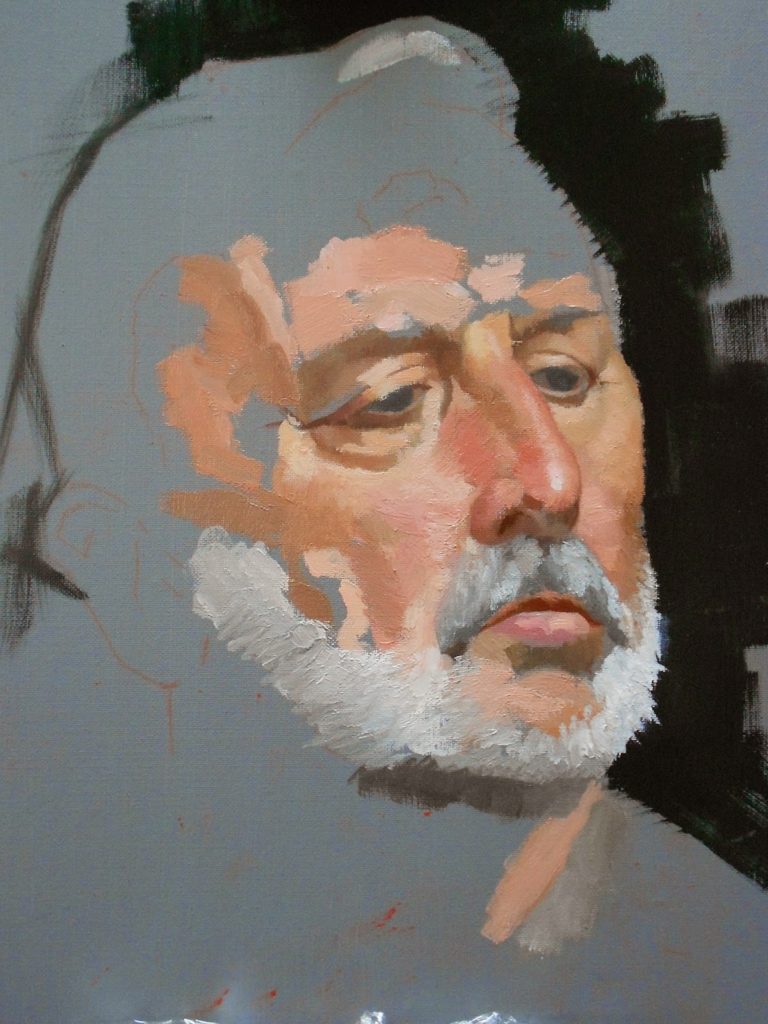
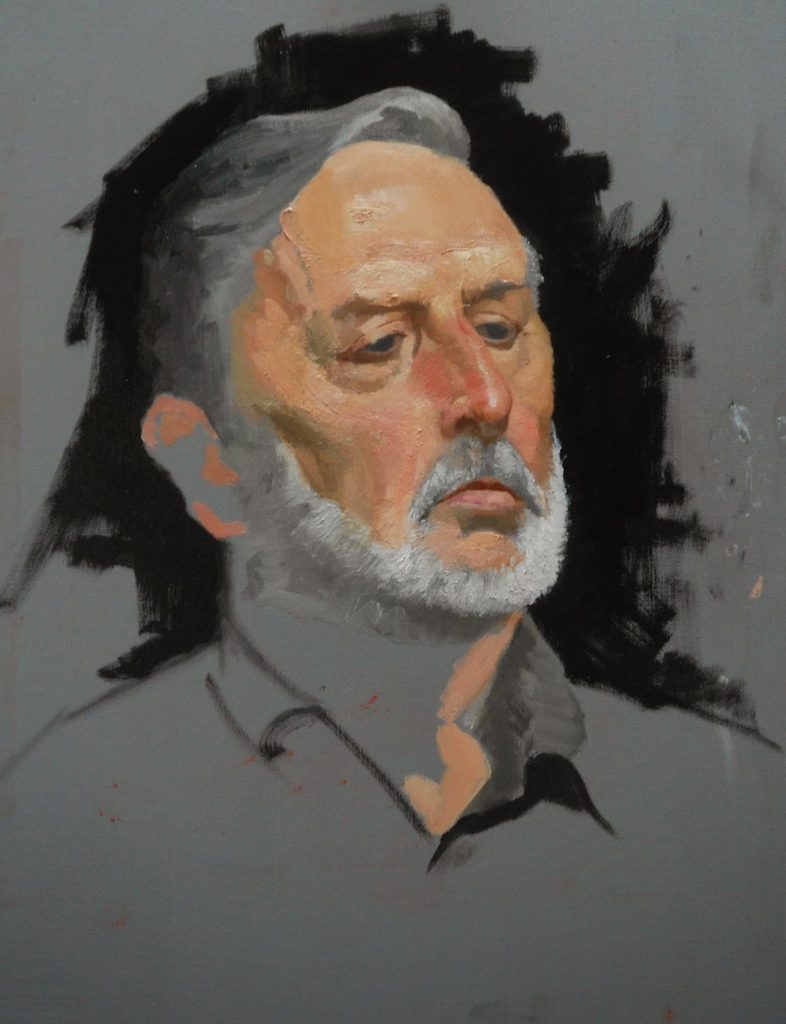
Below is my work (no time for the poor ear). David kept telling me to add more texture. The method is a lot different than the way I work which is from large general block-ins down to the specific. Here I had to jump into the detail right away and work from the center out.
David has videos on his drawing and painting methods that are available for purchase through his website: http://store.davidkassan.com